Call our Professional Contractors!
(949) 859-9969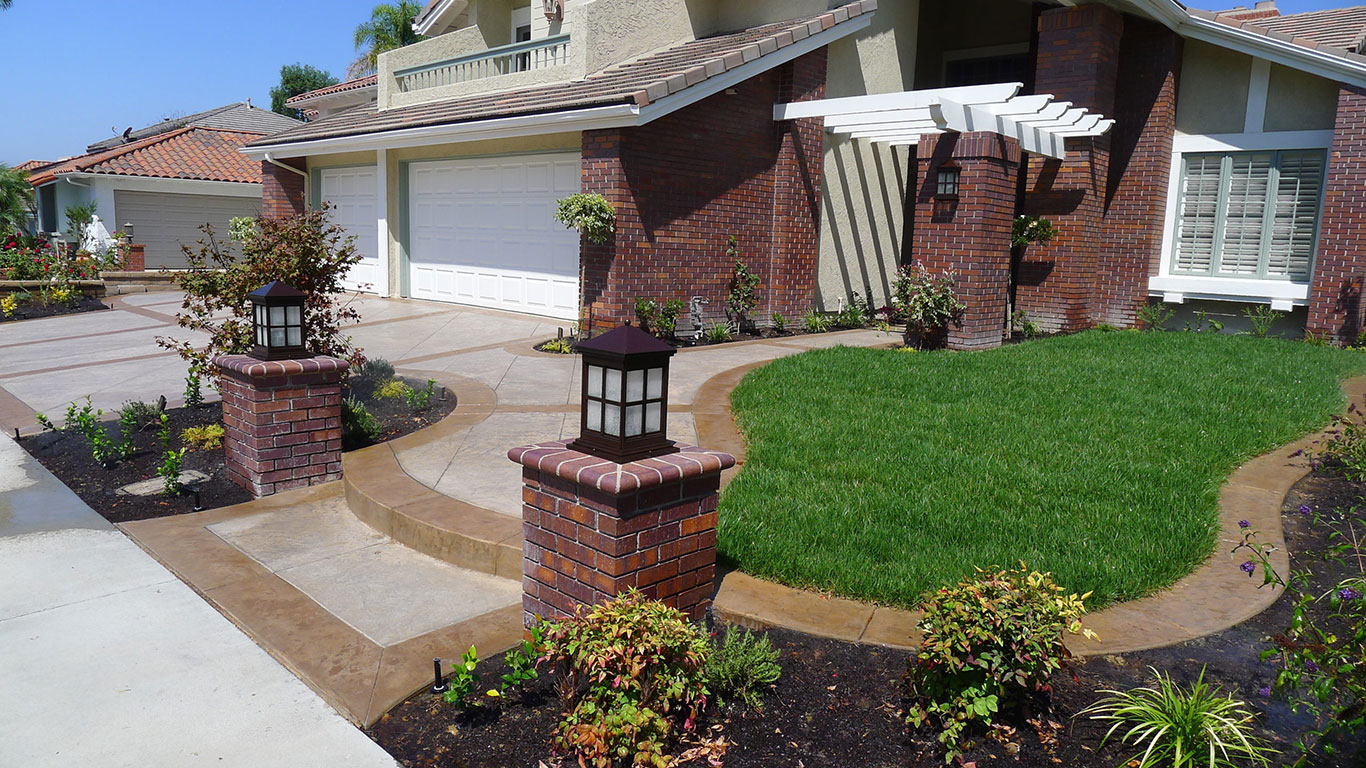
Key Takeaways:
Holiday driveway lighting transforms stamped concrete into stunning seasonal displays. Understanding material characteristics, fixture options, and installation requirements ensures successful integration, maximizing curb appeal and functionality.
This guide covers design considerations, fixture selection, and maintenance protocols specific to Orange County stamped concrete driveways.
Holiday driveway lighting encompasses permanent embedded systems and temporary seasonal displays designed around stamped concrete features. Integration requires understanding how concrete texture, color, and finish affect light distribution.
Stamped concrete costs $7-$12 per square foot with a 25-40 year lifespan and excellent OC climate suitability. Popularity has increased by over 50% since 2020. Textured surfaces create shadows affecting light reflection—deeper textures require brighter illumination. Pattern choices influence fixture placement and spacing. Color variations affect absorption—darker stamps need more light, lighter surfaces reflect efficiently.
General lighting prioritizes safety and functionality year-round using consistent white light. Holiday lighting emphasizes aesthetics and visual drama with colors, patterns, and animations. Permanent installations require weather resistance; temporary decorations allow experimental designs. Budget allocation differs—permanent systems justify higher costs, seasonal displays favor flexibility.
Curb appeal enhancements can increase home value by up to 7%. Orange County architecture ranges from Spanish Colonial to contemporary, influencing aesthetics. Mediterranean styles suit warm whites; modern homes accommodate bold colors. Mild climate permits year-round displays. Coastal areas require corrosion-resistant fixtures; inland heat demands UV-stable materials.
Stamped concrete characteristics directly impact fixture selection, placement, and installation methods, requiring specific approaches.
Stamped joints create natural boundaries for fixture lines. Deep textures provide mounting opportunities concealing bases. Color variations guide zones—highlight lighter accents, avoid washing dark areas. Joint spacing determines fixture intervals. Position lights emphasizing edges rather than centers revealing three-dimensional relief.
Seal concrete every 2-3 years protecting it from moisture, stains, and UV damage. Glossy sealers create reflections amplifying intensity and glare. Matte sealers diffuse light reducing hot spots. Fresh coats reflect 20-30% more than unsealed surfaces. Color hardeners darken concrete requiring brighter lighting. Plan fixture brightness accounting for finish—reduce with glossy, increase with matte.
Border lighting uses low-profile fixtures along edges without vehicle interference. Accent bands benefit from directional spotlights. Install fixtures outside traffic zones. Use shielded fixtures directing light onto features without spill. Maintain a 6-inch minimum from wheel paths. Angle lights across surfaces revealing depth. Layer multiple types creating dimension—avoid over-lighting.
Planning prevents costly mistakes ensuring cohesive designs. Consider priorities, regulations, and budgets before purchasing fixtures.
Safety supersedes decoration—maintain sight lines, prevent tripping, ensure task lighting. Prioritize permanent safety lighting first adding embellishments second. Establish minimum illumination meeting requirements then enhance decoratively. Balance drama with function—displays lose value if guests struggle navigating. Document priority hierarchy guiding decisions and budget.
No specific county-wide regulations exist for residential driveway lighting in Orange County. Check the local HOA for restrictions. Be mindful of light pollution avoiding neighbor nuisance. HOAs commonly regulate brightness, color, hours, and duration. Angle fixtures away from adjacent homes. Discuss plans with neighbors proactively. Document approvals: Obtain written HOA consent before installation.
Basic holiday lighting costs $500-1,500; elaborate permanent systems $3,000-8,000. Factor concrete protection—mats, sealant, and cleaning. Allocate 15-20% for maintenance. Professional installation costs $75-150/hour. Electrical work requires a licensed contractor adding $500-2,000. Plan multi-year implementation phasing infrastructure first, adding decorative elements annually.
Layout design maximizes appeal while meeting functional requirements. Strategic planning prevents a cluttered appearance.
Identify primary viewing angles—street approach, front door, sight lines. Select 2-3 main focal points preventing overload. Curves create natural opportunities. Complex patterns benefit from selective lighting. Entry areas demand the highest visibility. Photograph the driveway identifying impressive features. Prioritize features visible from main positions. Avoid equal emphasis—hierarchy creates interest.
Vehicle zones require bright, even lighting. Walkway zones need consistent illumination. Decorative zones accept variable lighting. Establish boundaries following natural divisions. Assign fixture types matching needs. Plan independent control enabling flexible operation. Holiday decorations overlay decorative zones leaving functional zones unchanged.
Apply "less is more"—one well-placed fixture outperforms multiple mediocre placements. Point fixtures away from viewing angles. Use shields directing light onto targets. Calculate coverage ensuring overlap without excessive brightness. Avoid competing types—choose a consistent style and temperature. Layer gradually preventing chaos. Quality over quantity.
Fixture selection depends on installation method, budget, and desired effects. Multiple types often combine creating comprehensive systems.
LED strips can be embedded during installation, creating a seamless permanent solution. For embedded systems, ensure seals remain intact preventing water intrusion. Use during new installation or major renovation. Recessed lights provide a clean appearance without obstacles. Require professional installation ensuring waterproofing. Choose fixtures rated for vehicular traffic. Maintenance requires concrete work—reserve for primary areas justifying investment.
Solar-powered paver lights provide an energy-efficient, low-maintenance option. Solar lights require occasional panel cleaning and battery replacement every few years. Surface-mounted fixtures offer flexibility, easier installation, and simplified maintenance. Path lights along edges provide guidance. Choose retrofits that avoid concrete damage. Lower costs suit budget-conscious projects. Easier repairs—replace without concrete work.
LED lighting consumes up to 90% less energy than incandescent options. Color-changing strips control via smartphone app allowing endless combinations. Smart LEDs enable customizable themes without fixture changes. Program sequences matching holidays. Timers automate operations, ensuring schedules and savings. Create scenes matching events. Energy efficiency justifies higher costs through reduced expenses.
Electrical infrastructure determines capability, safety, and cost. Proper planning ensures code compliance.
Low-voltage (12V-24V) offers safer installation, easier DIY, and lower costs. Require transformers. Line-voltage (120V) provides brighter output, longer runs. Demands a licensed electrician. Solar eliminates wiring entirely. Zero operating costs, maximum flexibility. Limited brightness, weather-dependent. Choose low-voltage for most displays balancing cost and safety. Reserve line-voltage for high-output applications.
Route conduit along edges beneath landscaping avoiding penetrations. Cross at expansion joints minimizing cuts. Bury 18 inches deep. Junction boxes are located outside traffic areas. Place in landscaping, garage walls, or behind features. Plan home runs minimizing wire runs. Document paths before backfilling. Use oversized conduit for expansion.
Use GFCI protection on all outdoor circuits. Install weatherproof boxes rated for wet locations. Seal penetrations preventing water infiltration. Position outside wheel paths. Elevate boxes above water levels. Use direct-burial wire. Protect exposed wiring with conduit. Inspect regularly. Use automotive-rated fixtures in traffic zones. Hire a licensed electrician for line-voltage work.
Orange County's climate presents specific challenges requiring appropriate fixture selection and installation methods.
Intense UV radiation, heat cycles, and coastal salt air affect durability. Coastal areas demand corrosion-resistant fixtures—stainless steel or marine-grade plastics. Salt corrodes copper, requiring waterproof enclosures. Inland areas experience 95°F+ temperatures degrading plastics. UV fades colors and weakens materials. Select fixtures rated for coastal or high-UV environments. Apply protective coatings. Use stainless hardware.
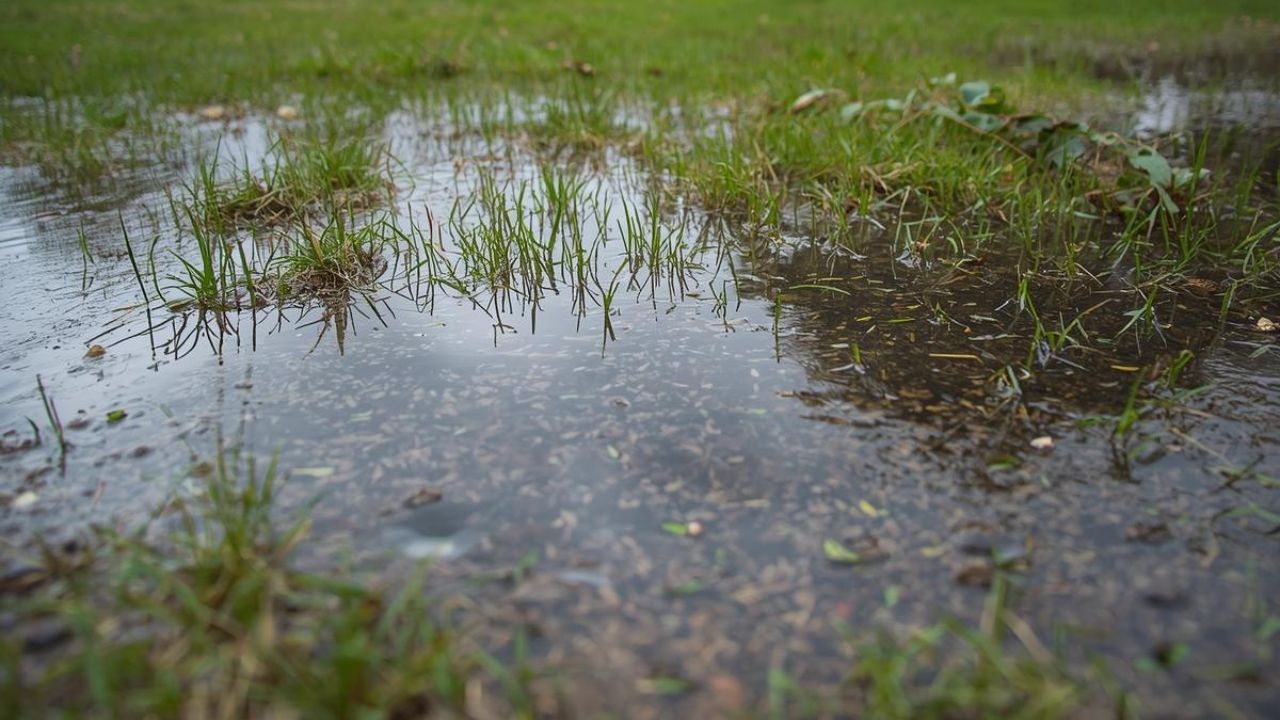
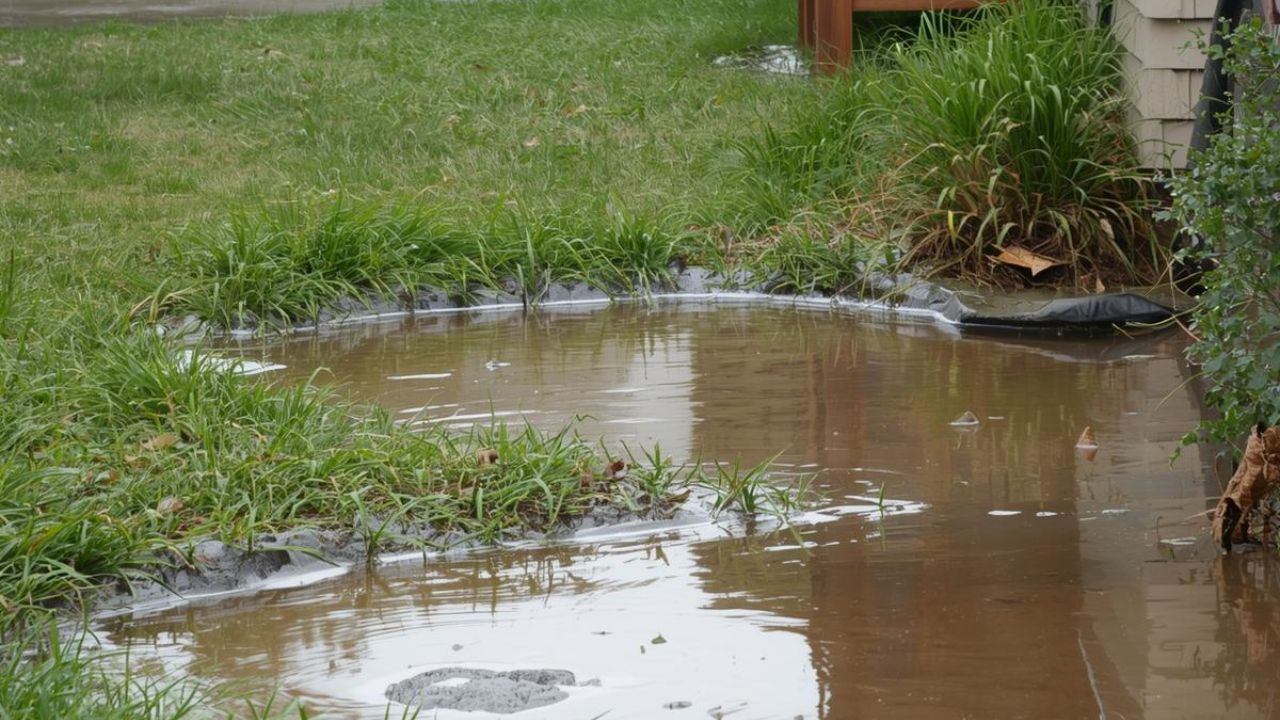
Sloped driveways concentrate water potentially flooding wells. Install the above drainage paths. Ensure proper drainage around recessed fixtures. Irrigation overspray causes failure. Position outside sprinkler coverage. Drainage erodes soil undermining stability. Grade areas directing water away. Test irrigation identifying patterns before installation. Adjust heads or positions to prevent conflicts.
Direct lighting downward using shields. Use timers to limit hours. Choose warm whites (2700K-3000K). Employ minimum brightness. Focus on specific features. Install motion sensors. Use opaque fixtures that prevent upward escape. Angle away from neighbors. Set automatic shutoff at reasonable hours. Balance display with community consideration.
Systematic installation ensures proper function while protecting surfaces.
Inspect for cracks, spalling, or structural issues. Identify expansion joints. Locate utilities—call 811 before digging. Document patterns photographing areas. Test moisture levels. Verify sealer condition. Check for rebar using a metal detector. Measure thickness ensuring depth for wells. Note drainage patterns. Hire professionals for structural evaluation if concerns exist.
Mark locations with chalk, visualizing the layout. Confirm clearances. Plan routes minimizing penetrations. Protect surfaces with plywood. Use water-cooled tools to reduce heat. Drill pilots verifying depth. Install systematically from the power source. Seal penetrations immediately. Test before backfilling. Document paths and depths. Clean thoroughly. Apply sealer to cut edges.
Test each fixture individually verifying operation. Check voltage ensuring delivery. Test GFCI confirming protection. Adjust angles to achieve effects. Program timers establish schedules. Create control zones. Test color-changing features. Measure light levels. Evaluate glare adjusting. Run an extended period identifying issues. Document programming. Create a maintenance schedule.
Temporary decorations enhance permanent lighting without compromising integrity.
Use weighted bases for displays. Employ landscape stakes in adjacent soil. Apply painter's tape removing cleanly. Use suction cups on sealed areas—test first. Drape from existing structures. Use gravity—heavy decorations stay in place. Avoid adhesives, nails, and screws. Remove tape daily. Clean after removal. Test methods on inconspicuous areas first.
Choose for maximum flexibility and variety. Change displays annually without work. Use for rentals avoiding modifications. Employ when HOA restrictions prevent permanent installations. Select for budget-conscious approaches. Utilize when concrete prevents safe drilling. Deploy for testing concepts. Freestanding includes inflatables, projectors, stake-mounted figures, and portable strings. Easier storage and transportation.
Install dual-purpose fixtures serving both needs. Use neutral LEDs year-round adding colored filters for holidays. Employ smart systems programming for seasonal changes. Design permanent fixtures highlighting architecture that appear appropriate year-round. Plan removable elements overlaying permanent lighting. Use timers enabling independent zone operation. Create profiles switching between modes.
Regular maintenance protects investments, ensuring continued performance.
Clean thoroughly after the season removing debris and residue. Use pH-neutral cleaners. Pressure wash cautiously. Remove stains promptly. Inspect the sealer after heavy use. Reseal maintaining a 2-3 year schedule or more with traffic. Touch-up color hardener. Repair minor cracks immediately. Clean fixtures prevent dirt buildup. Protect during installation using mats.
Inspect monthly, identifying problems early. Clean lenses to maintain brightness. Check seals, ensuring resistance. Tighten connections preventing flickering. Remove corrosion using a cleaner. Apply dielectric grease. Verify GFCI monthly. Replace bulbs immediately. Check for insects. Trim vegetation. Inspect wire insulation. Test transformers. Clean solar panels. Replace batteries every 2-4 years.
Call when cracks exceed 1/8 inch or propagate rapidly. Seek help for spalling or deterioration. Contact for noticeable color fading. Get assistance with electrical issues beyond bulb replacement. Call for water infiltration around fixtures. Seek help when damage appears around installations. Contact for complex programming. Call electricians for burning smells or sparking. Early intervention prevents expensive problems.
Contractor selection determines project success and satisfaction.
Request a portfolio showing similar projects. Ask for years of experience with stamped concrete lighting. Question certifications—low-voltage, concrete finishing, and landscape design. Inquire about the design process—consultations, renderings, mockups. Ask about manufacturer partnerships. Question warranties covering installation and materials. Request references for checking satisfaction. Ask about problem-solving experience. Question material preferences. Inquire about smart system capabilities.
Professional contractors conduct thorough evaluations before estimating. Create sketches or CAD drawings. Provide written proposals detailing scope, specifications, timeline, and costs. Include material lists with manufacturer information. Specify fixture types, quantities, and placement. Detail electrical work. Outline concrete protection. Include permitting. Specify payment schedules. Provide warranty information. A professional presentation indicates reliable execution.
Request a minimum 2-year installation warranty covering defects. Seek fixture warranties matching manufacturer terms—typically 5-10 years for LEDs. Ask about the concrete damage warranty. Inquire about seasonal service offering pre-holiday checks. Request maintenance contracts including cleaning, inspection, and adjustment. Question response times. Request documentation, including diagrams and manuals. Compare terms between contractors.
Holiday driveway lighting integrated with stamped concrete creates stunning displays enhancing curb appeal and property value. Orange County's climate demands specific approaches that balance aesthetics, durability, and functionality. Professional installation guarantees code compliance and long-term performance.
Signature Landscape specializes in stamped concrete installation and integrated lighting design throughout Orange County. Contact Signature Landscape today to discuss holiday driveway lighting options and transform your property.
Schedule A Consultation